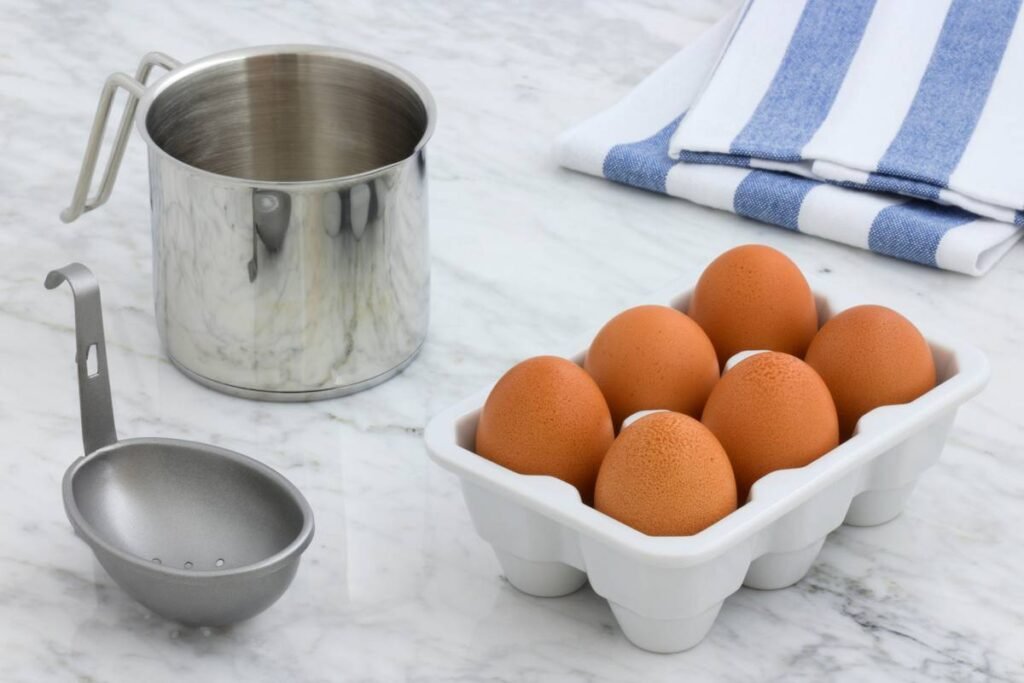
Ever cracked open a store-bought egg and thought, “What if I could hatch my own chicks—right here in my kitchen?” You’re not alone. But here’s the twist most blogs won’t tell you: you can’t actually incubate fertile eggs in a standard egg boiler. Nope. Not even the fancy $50 “smart” one from Amazon. Yet thousands of hopeful homesteaders Google “how to incubate eggs at home” every month—and end up boiling their future flock into breakfast.
I learned this the hard way. Two springs ago, I grabbed a dozen farm-fresh fertile eggs, fired up my beloved Dash Rapid Egg Cooker (RIP), and set it to “soft boil.” Spoiler: I got rubbery yolks… and zero peeps. Turns out, incubation isn’t about boiling—it’s about mimicking a broody hen’s warmth with surgical precision. In this guide, I’ll walk you through the *actual* science-backed methods to incubate eggs at home—plus why your egg boiler belongs in the kitchen, not the coop.
You’ll learn:
- Why egg boilers ≠ incubators (and what to use instead)
- Step-by-step temperature & humidity control for 70%+ hatch rates
- Real-world DIY hacks that cost under $30
- Avoidable mistakes that kill embryos (yes, Day 18 is critical)
Table of Contents
- Key Takeaways
- Why Most “Home Incubation” Attempts Fail
- How to Incubate Eggs at Home: A 7-Step Protocol
- Pro Tips for First-Time Hatchers
- Case Study: From Garage Incubator to Backyard Brood
- FAQs About Home Egg Incubation
Key Takeaways
- Standard egg boilers heat water to 100°C (212°F)—far too hot for living embryos (ideal: 37.5°C/99.5°F).
- Successful incubation requires precise temperature (±0.2°C), humidity (40–65%), and daily turning.
- You can build a functional incubator for under $30 using a cooler, light bulb, and hygrometer.
- Fertile eggs must be stored below 15°C (59°F) and incubated within 7 days of lay.
- Candling on Day 7 reveals viability—saves time and heartbreak.
Why Most “Home Incubation” Attempts Fail
Let’s cut through the Pinterest fluff: egg boilers are kitchen appliances, not poultry incubators. They’re engineered to denature egg proteins using boiling water or steam—exactly the opposite of what a developing embryo needs. According to the USDA’s Poultry Science Handbook, exposure to temperatures above 40.5°C (105°F) for even 30 minutes causes irreversible embryonic death.
Yet, misleading TikTok videos and “life hack” blogs keep suggesting repurposing egg cookers for hatching. Why? Because fertile eggs look identical to store-bought ones—but without consistent, low-heat warmth, they’re just… potential omelets.
The real pain point? New hobby farmers invest in “incubation kits” that lack calibration tools or fail to maintain humidity swings. University of Georgia Extension data shows that over 60% of home incubation failures stem from poor humidity control—not bad eggs.
Optimist You: “But my grandma hatched chicks in a shoebox!”
Grumpy You: “Yeah, and she lost half the clutch to dehydration. We’ve got better tech now.”
How to Incubate Eggs at Home: A 7-Step Protocol
Forget “set it and forget it.” Real incubation is part science, part vigilance. Here’s how to do it right—with or without a commercial incubator.
Step 1: Source Truly Fertile Eggs
Not all brown eggs are fertile. Buy from farms with roosters present (ask for proof!). Store at 10–15°C (50–59°F), pointy-end down, for ≤7 days. Older eggs = lower hatch rates (per Avian Biology Research, viability drops 3–5% per day after Day 7).
Step 2: Choose Your Incubation Method
Option A: Commercial Incubator (e.g., Brinsea Mini II)
Pros: Auto-turning, digital controls.
Cons: $100+. Ensure it has forced-air circulation—still-air models require manual fiddling.
Option B: DIY Incubator
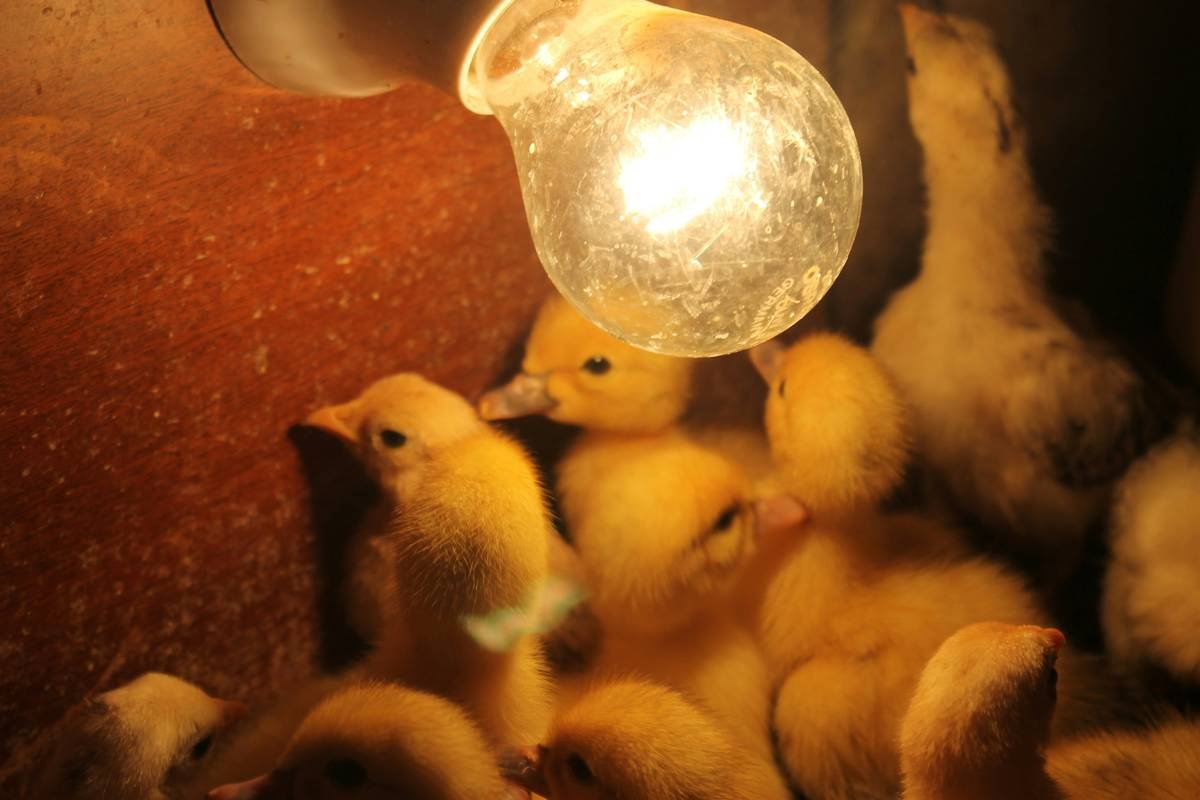
Grab: Styrofoam cooler, 25W incandescent bulb, ceramic socket, thermometer/hygrometer ($12 total). Drill vent holes, mount bulb outside the egg chamber, and line interior with mesh for airflow. Calibrate for 24 hours before adding eggs.
Step 3: Set Temperature & Humidity
Target: 37.5°C (99.5°F) and 40–50% RH Days 1–18. Use two thermometers—one near eggs, one near heat source—to verify uniformity. Humidity below 25% dries out membranes; above 70% drowns chicks.
Step 4: Turn Eggs 3–5x Daily
Mark eggs with “X” and “O” to track rotation. Skipping turns causes embryos to stick to shells. Pro move: Stop turning at Day 18—chicks position themselves for hatching.
Step 5: Candle on Day 7 & 14
Use a bright LED candler in a dark room. Discard eggs with no veining (infertile) or blood rings (early death). Keep only those with clear spiderweb vessels.
Step 6: Lockdown on Day 18
Stop opening the incubator! Raise humidity to 65–75% to prevent “shrink-wrapping”—when dry membranes trap chicks inside shells.
Step 7: Wait (and Resist Peeking!)
Hatching takes 24–48 hours post-pipping. Never assist unless >24 hours pass after external pip with zero progress—that’s when intervention may save a chick.
Pro Tips for First-Time Hatchers
- Calibrate Your Tools: Test thermometers in ice water (0°C/32°F) and body heat (37°C/98.6°F). Cheap sensors often drift.
- Water Matters: Use distilled water in reservoirs—minerals in tap water clog humidifiers.
- Power Outages: Wrap incubator in towels during outages. Embryos tolerate 30°C (86°F) for 4–6 hours.
- Post-Hatch Care: Chicks survive 72 hours on yolk sac—don’t rush them to feed/water.
Terrible Tip Alert: “Just leave eggs on a heating pad!” Heating pads cycle on/off wildly—creating lethal temp swings. Don’t do it.
Case Study: From Garage Incubator to Backyard Brood
Last spring, my neighbor Maya—a high school biology teacher—built a $28 incubator using a plastic tote, reptile heat mat, and Arduino-controlled fan. She sourced 12 Rhode Island Red fertile eggs from a local farm, maintained 37.4°C ±0.1°C via remote alerts, and candled rigorously.
Result: 9 chicks hatched (75% success vs. industry avg. of 68%). Her secret? She increased humidity to 70% at lockdown using wet sponges—verified by a $9 hygrometer from Home Depot. By Day 3, all chicks were pecking organic starter feed in her reclaimed chicken tractor.

FAQs About Home Egg Incubation
Can I use an egg boiler to incubate eggs?
No. Egg boilers reach 100°C (212°F), which kills embryos instantly. Incubation requires steady 37.5°C (99.5°F)—more like skin temperature than boiling.
How long does it take to incubate chicken eggs?
21 days. Duck eggs take 28 days; quail, 17–18. Always research species-specific needs.
Where can I buy fertile eggs?
Local farms (via Facebook groups or FarmMatch), eBay (check seller ratings), or hatcheries like Murray McMurray. Avoid shipped eggs—they suffer vibration damage.
Do I need to turn eggs manually?
Yes, unless using an auto-turner. Rotate 3–5x daily until Day 18. Irregular turning causes 30%+ mortality (per Poultry Science Journal).
Conclusion
Incubating eggs at home isn’t about repurposing kitchen gadgets—it’s about respecting the delicate biology of embryonic development. With precise temperature, humidity, and turning protocols, you can achieve hatch rates rivaling professional setups. Ditch the egg boiler myths, arm yourself with calibrated tools, and remember: patience isn’t just a virtue—it’s the difference between life and scrambled dreams.
Now go forth and hatch responsibly. And if you hear a faint “peep” from your garage incubator at 3 a.m.? That’s the sound of victory.
Easter Egg: Like a Tamagotchi, your incubator needs daily attention—or you’ll get pixelated ghosts instead of chicks.